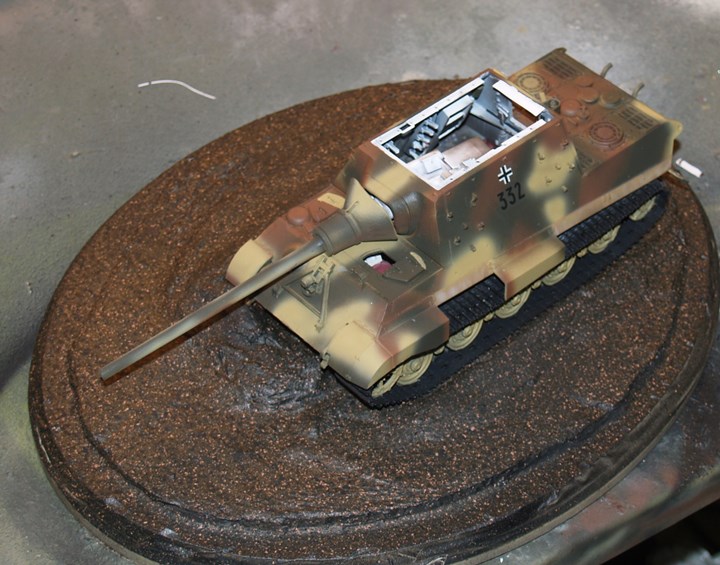
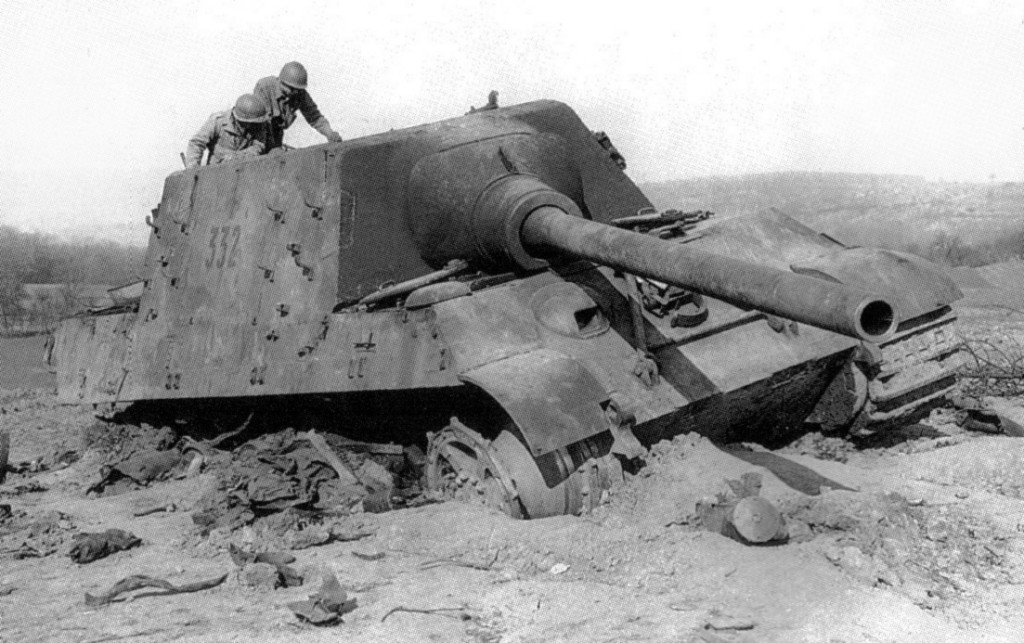
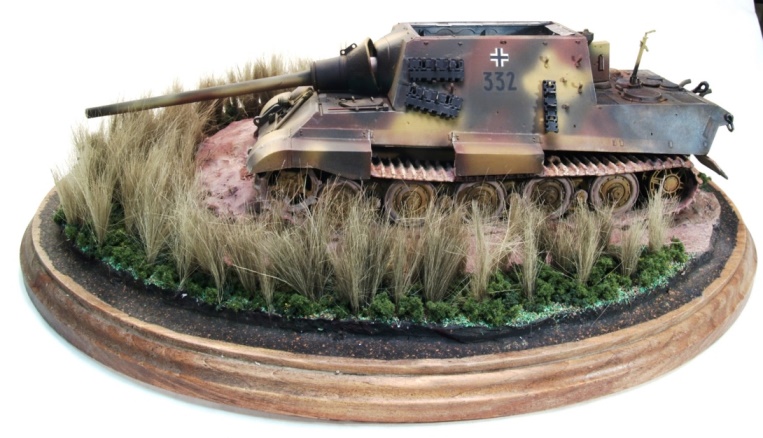
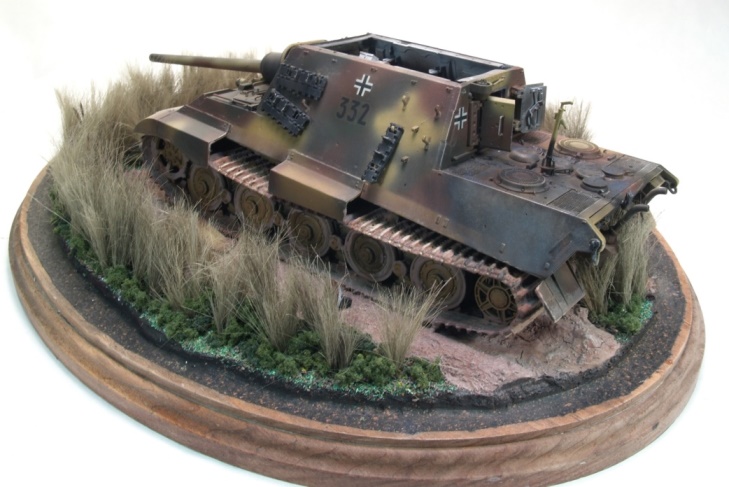
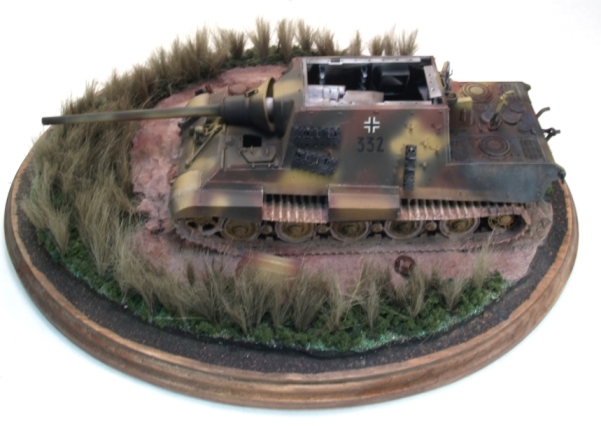
After coming across a Jagdtiger kit, i needed to determine what i wanted to build. I found the photos of Jagdtiger 332, and was hooked. From what i could learn, it was hit by artillery fire or rockets, and had to be abandoned. It looks from the photos like it lost a track, and sunk in on soft ground.
Another advantage to modeling this vehicle is the abbundance of photos. There are photos covering every angle of the vehicle, which greatly assists in modelling it.
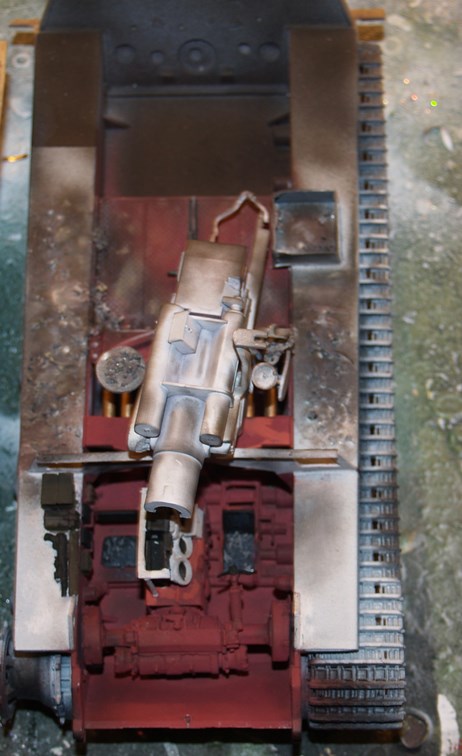
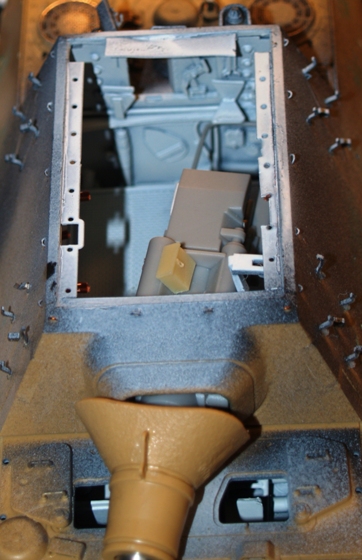
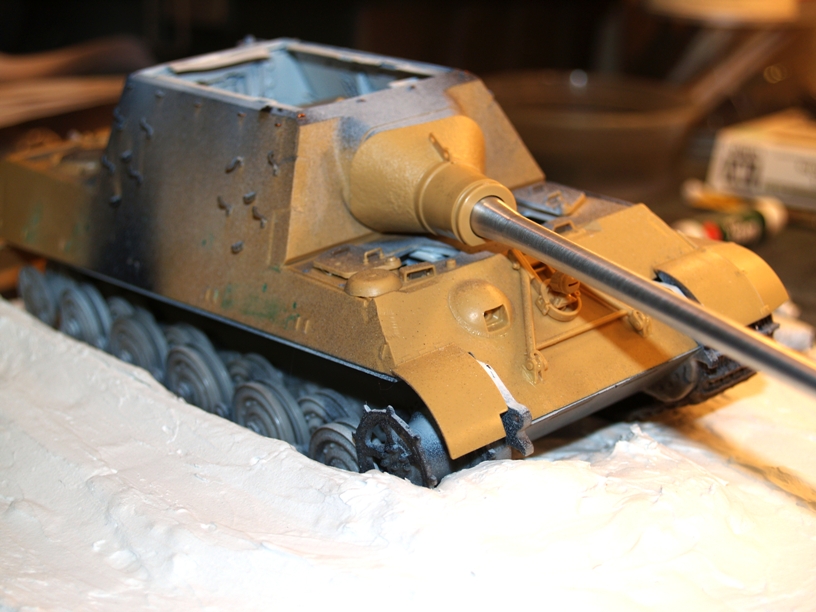
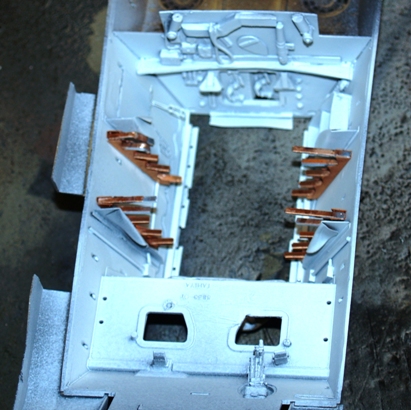
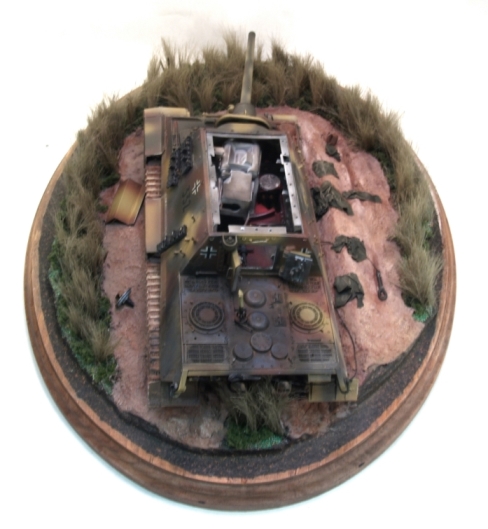
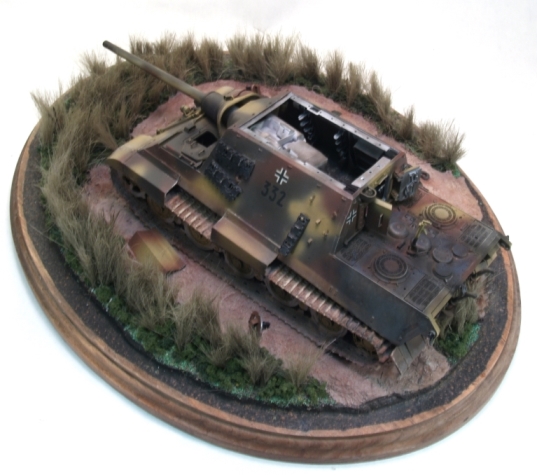
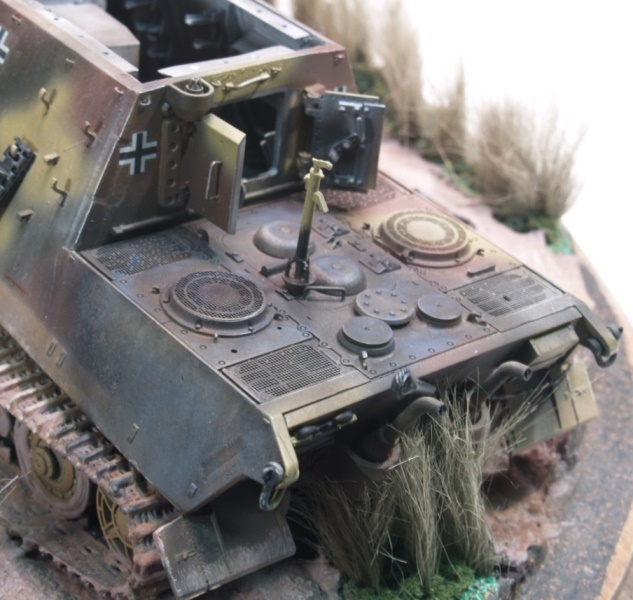
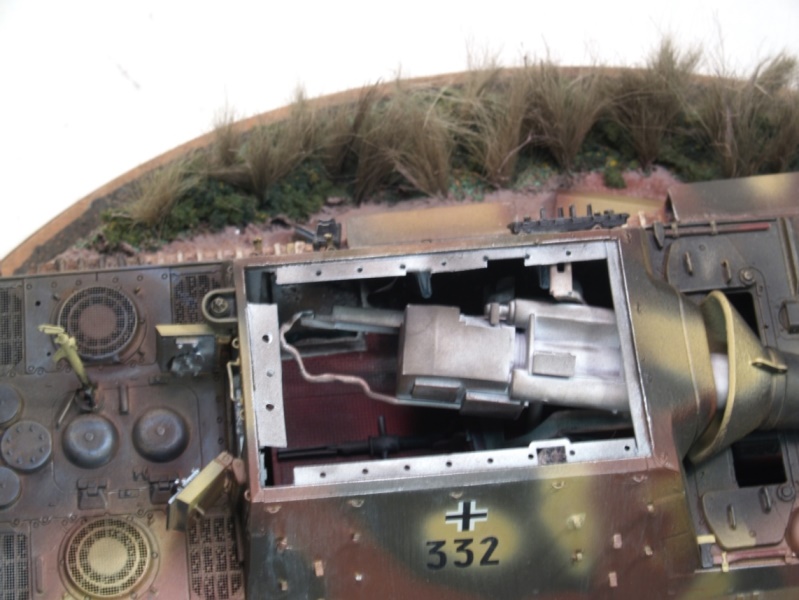
The hull roof has been blown off of the vehicle, allowing a great oppurtuinity to model the inside of the large hull, as well as model the destruction and fire damage which occured when the vehicle was destroyed by its own crew.


- 02-24-2015
- Added photos up to current state.
- 02-22-2015
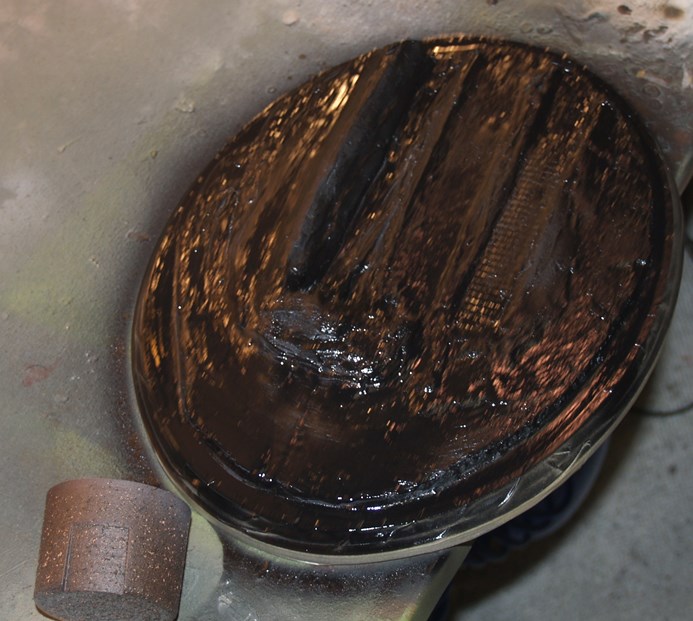
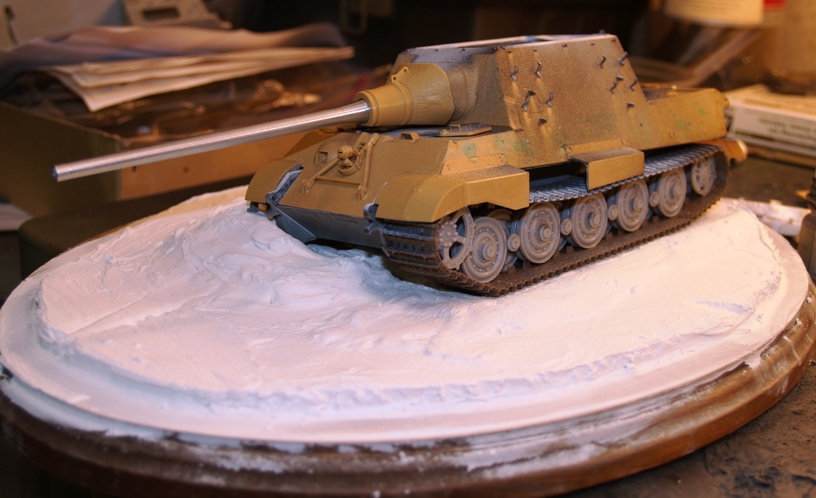
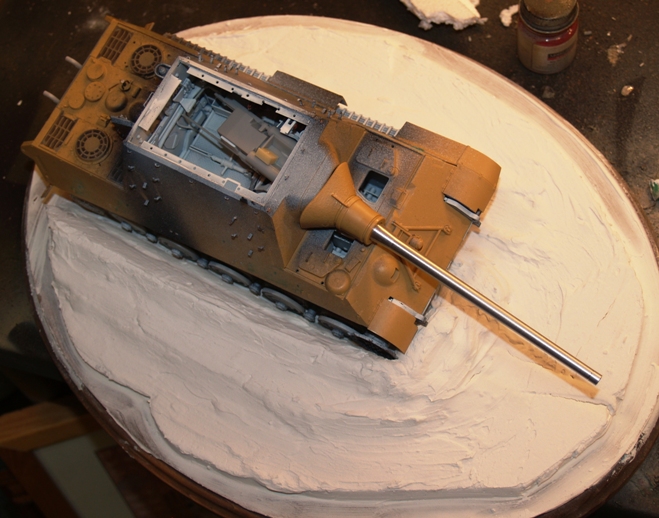
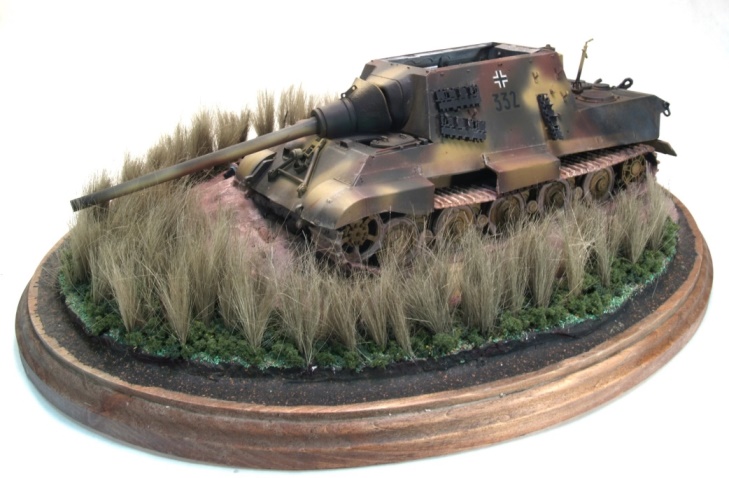
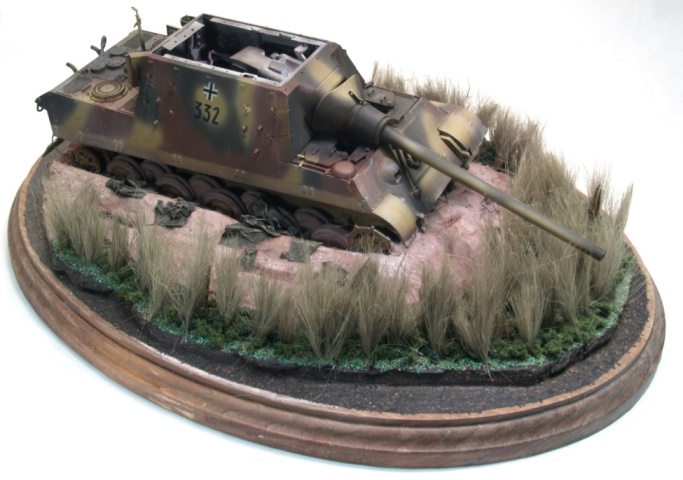
- Added the mud to the base, mounted the model to the base. Need to weather the model to finish the diorama.
- 02-08-2015
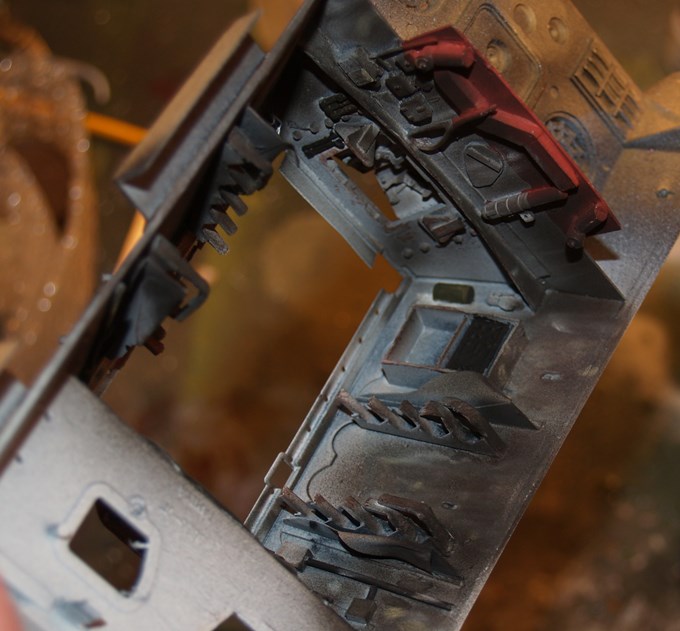
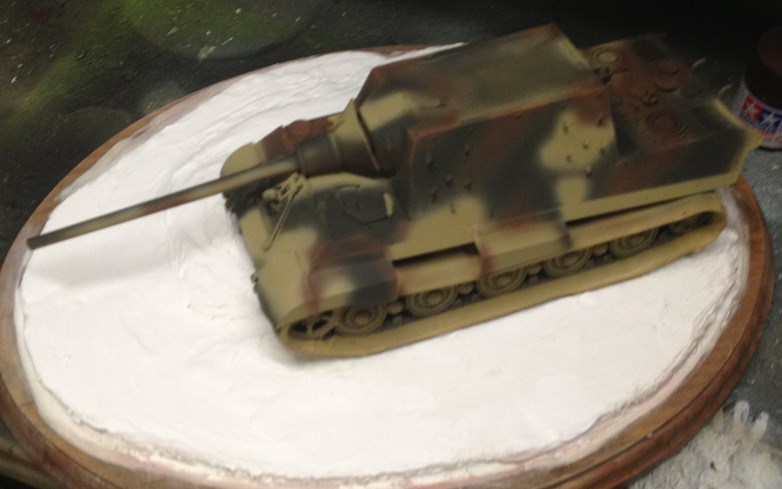
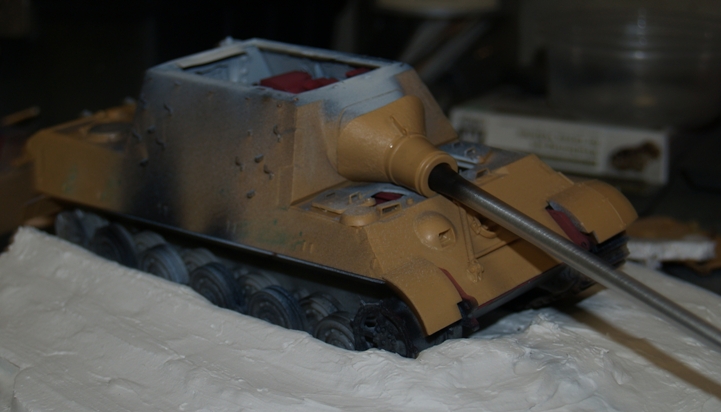
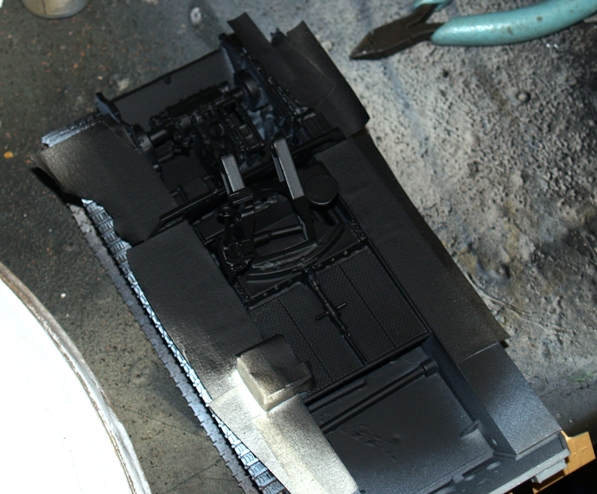
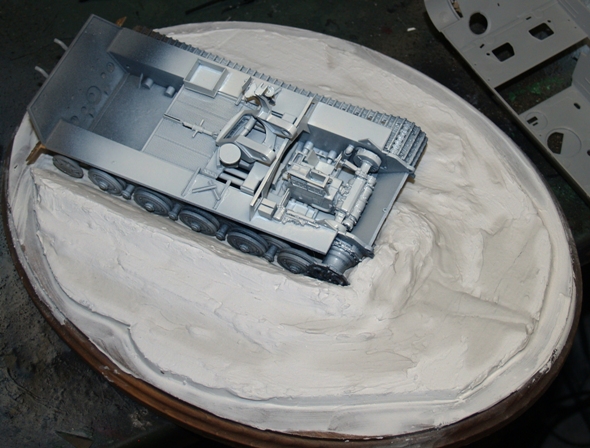
- Long time since an update. Much progress has been made. The interior is complete and weathered. The exterior has the camoflage painted, and some inital weathering completed. The base has all the groundwork completed, a primer coat, texture coat and the base paint coats completed. Next up is finishing the groundwork and completing the weathering and detail work of the outside of the model.
- 11-29-2014
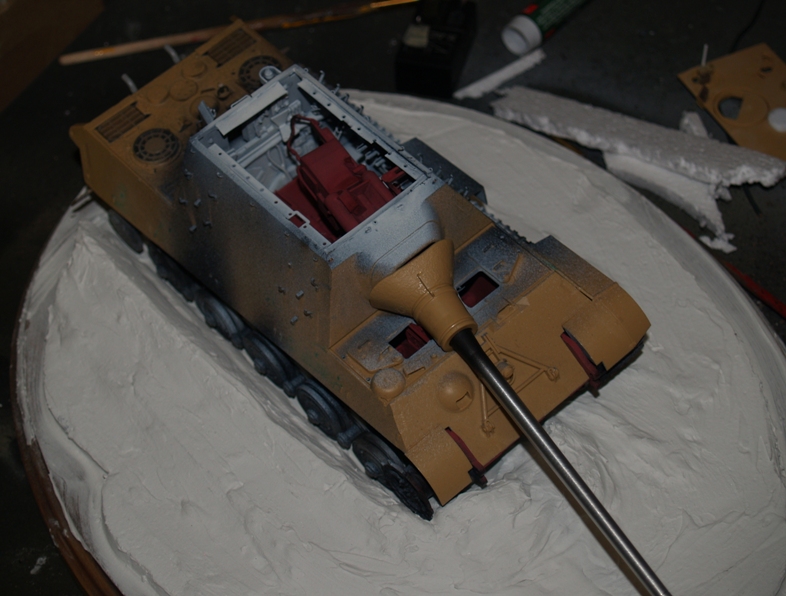
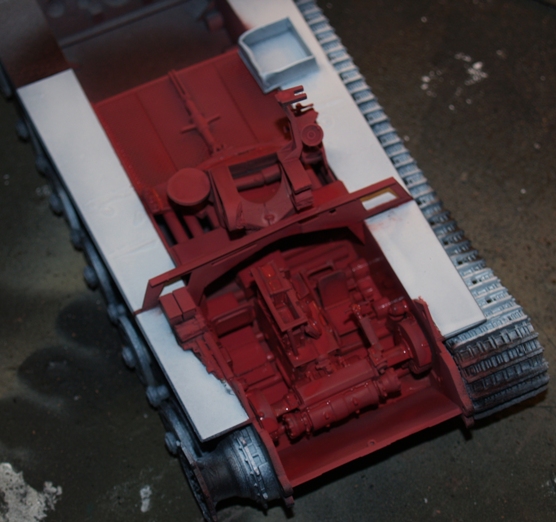
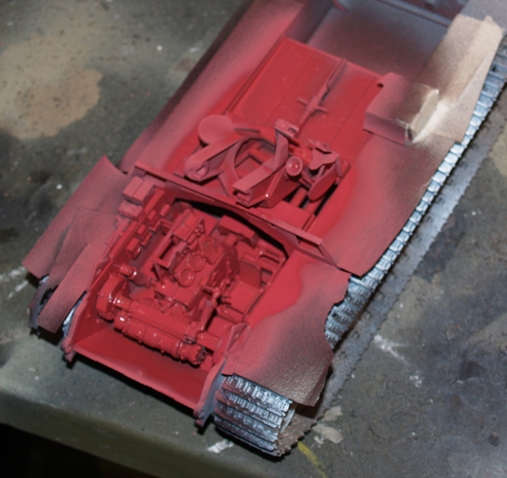
- Interior base painting completed. Ready for detail painting and then weathering.
- 11-27-2014
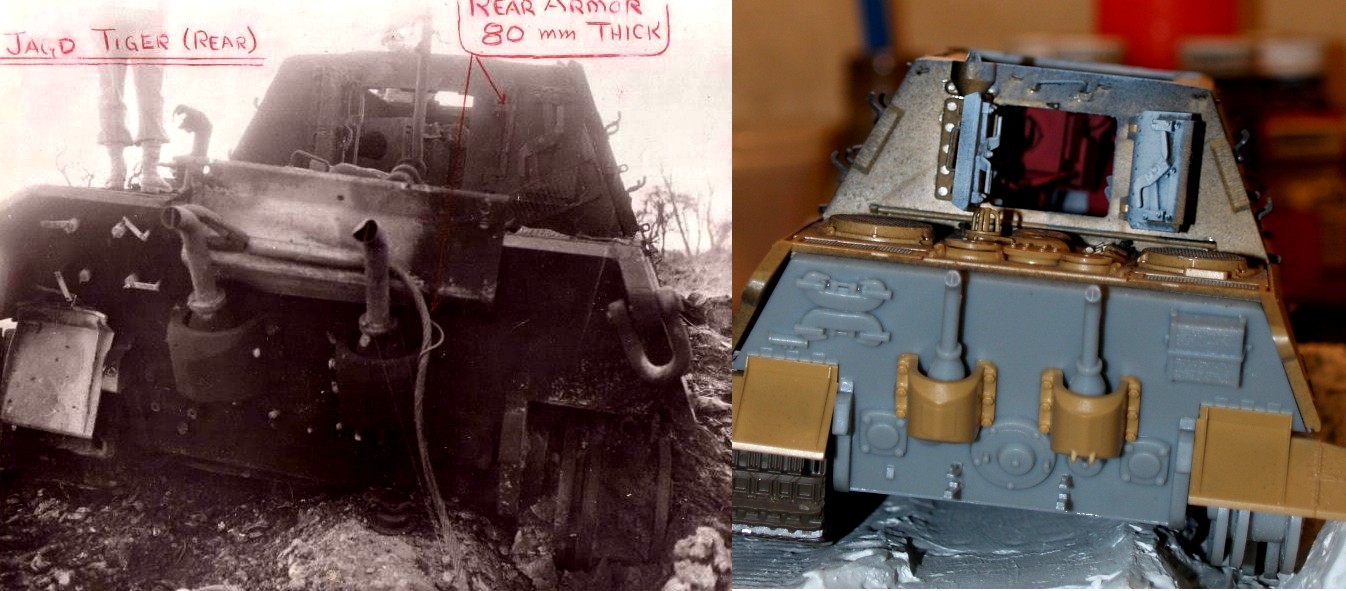
- Found a new reference photo of the rear of the vehicle, which i had not had before. I now have photos of all sides of the vehicle, which is essential. The only one lacking is the interior of the vehicle, which i will have to make from logic. I have a small view into the vehicle through the open back door in the rear photo.
- 11-26-2014
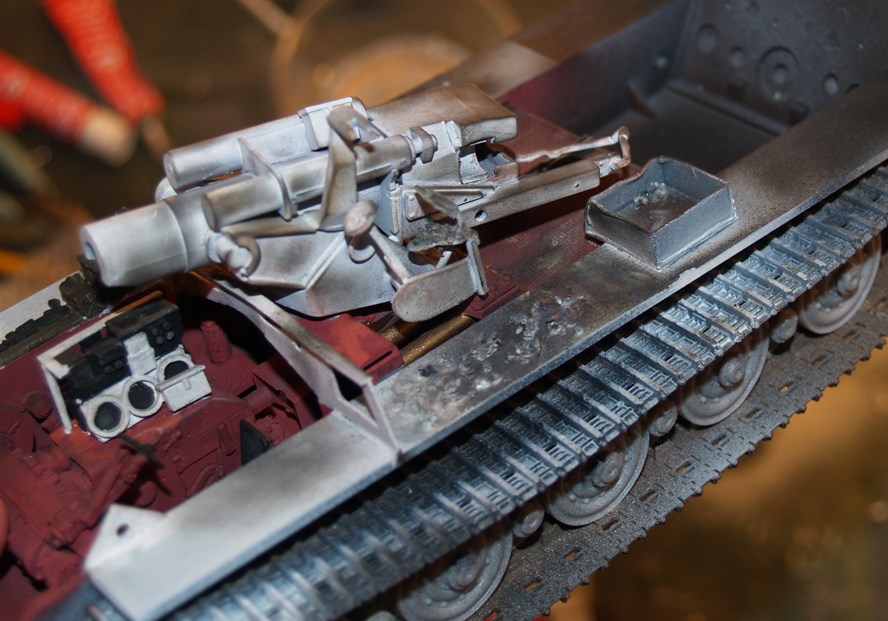
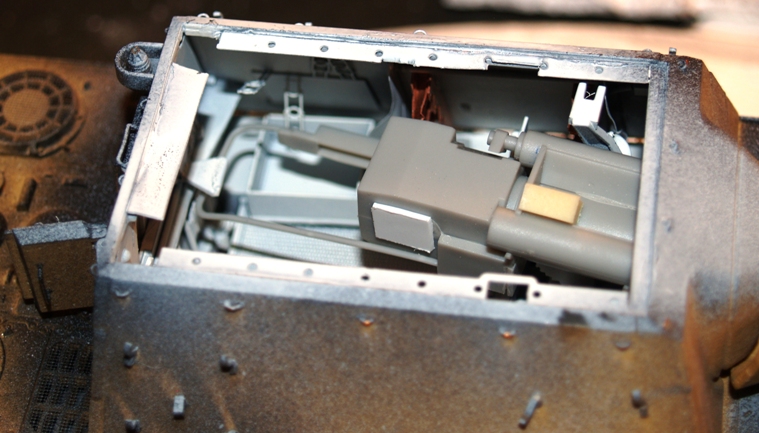
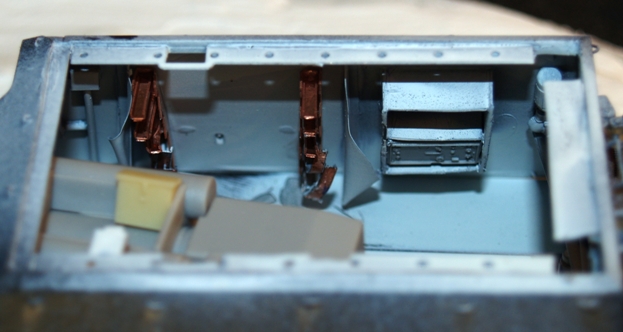
- Interior build continues. I thought i had it somewhat complete, but after checking references, realized the ammunition storage racks were incorrect. I also had repositoned the gun mount incorrectly. I added the racks, as well as a FU8 radio transmitter that i had. The receiver i do not, so i think i will make that be "missing", with some wiring in its place.
- Older
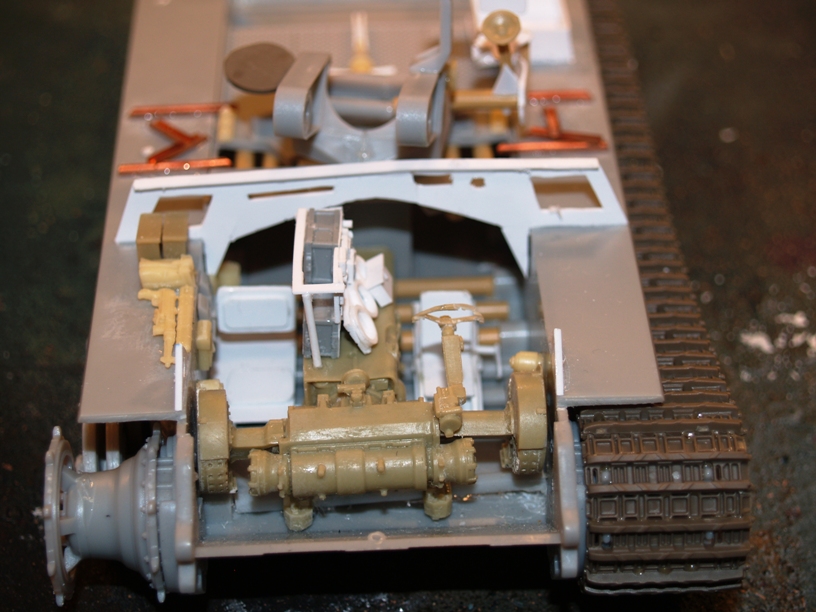
- This project started when i purchased a Dragon Jagdtiger from someone who had started it. After finding the photos of Jagdtiger 332, i decided that this was what i wanted to create. I found on eBay a lot consisting of a Tamiya upper hull which had also been started, and some leftover PE parts from the Verinden Jagdtiger interior set. The verlinden transmission set i picked up in a shop in Malaysia while travelling on business. I used these to form time to time work on the interior of the kit, scratch building and using spare parts for what i did not already have. The project did not really pick up until November 2014.
- Dragon Jagdtiger
- Misc Tamiya Jagdtiger parts
- Misc Verlinden Jagdtiger PE parts
- Verlinden King Tiger transmission
- Leftover Radio Parts from a Dragon STUG III kit
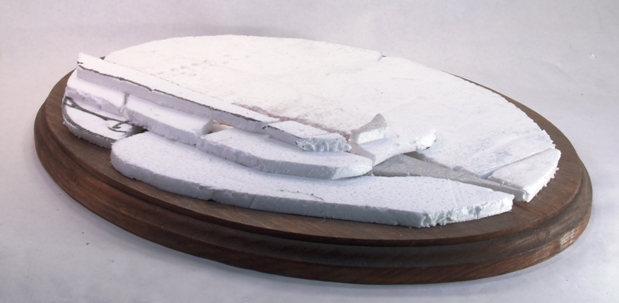
The biggest issue is cracks in the compound. These are easy to solve however. Using an old brush, apply a generous amount of water to the surface. Gently scrub. The compound will soften and you will be able to work it into the cracks to close them up. The advantage of this is that you do not need to repaint and the color stays the same.
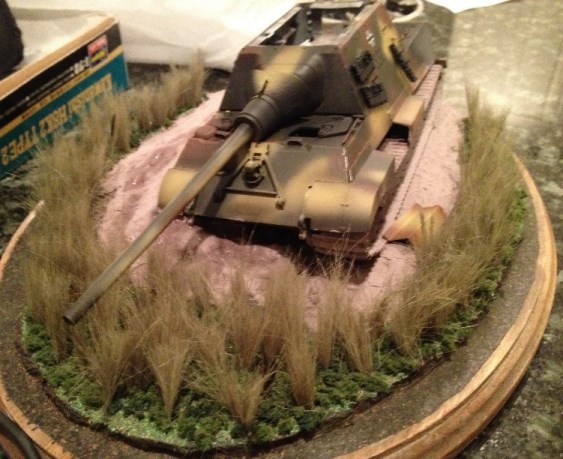
I applied the grass by placing a drop of white glue on the ground where i wanted the grass and using the dull side of a knife, fold the grass in half and press it down into the ground. The styrofoam base pinches it in place and really holds it.